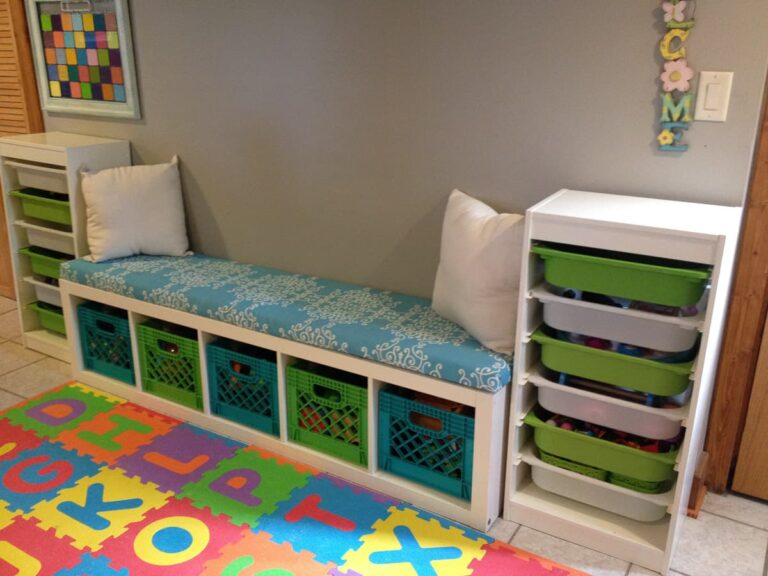

Update a room by adding DIY wall decor, shelves and signs. This is an easy way to decorate your home without spending a lot of money.

| Cookie | Duration | Description |
|---|---|---|
| AWSALBCORS | 6 days 21 hours 1 minute | This cookie is managed by Amazon Web Services and is used for load balancing. |
| cookielawinfo-checkbox-advertisement | 1 year | Set by the GDPR Cookie Consent plugin, this cookie is used to record the user consent for the cookies in the "Advertisement" category . |
| cookielawinfo-checkbox-analytics | 11 months | This cookie is set by GDPR Cookie Consent plugin. The cookie is used to store the user consent for the cookies in the category "Analytics". |
| cookielawinfo-checkbox-functional | 11 months | The cookie is set by GDPR cookie consent to record the user consent for the cookies in the category "Functional". |
| cookielawinfo-checkbox-necessary | 11 months | This cookie is set by GDPR Cookie Consent plugin. The cookies is used to store the user consent for the cookies in the category "Necessary". |
| cookielawinfo-checkbox-others | 11 months | This cookie is set by GDPR Cookie Consent plugin. The cookie is used to store the user consent for the cookies in the category "Other. |
| cookielawinfo-checkbox-performance | 11 months | This cookie is set by GDPR Cookie Consent plugin. The cookie is used to store the user consent for the cookies in the category "Performance". |
| CookieLawInfoConsent | 1 year | Records the default button state of the corresponding category & the status of CCPA. It works only in coordination with the primary cookie. |
| viewed_cookie_policy | 11 months | The cookie is set by the GDPR Cookie Consent plugin and is used to store whether or not user has consented to the use of cookies. It does not store any personal data. |
| XSRF-TOKEN | session | This cookie is set by Wix and is used for security purposes. |
| Cookie | Duration | Description |
|---|---|---|
| __cf_bm | 30 minutes | This cookie, set by Cloudflare, is used to support Cloudflare Bot Management. |
| _ck_form | 1 year | This cookie is set by the provider ConvertKit. This cookie is used for displaying and managing the email subscription forms on the website. |
| user_prefs | 1 year | Etsy sets this cookie to store user preferences (such as locale, delivery, preferred language). |
| Cookie | Duration | Description |
|---|---|---|
| AWSALB | 6 days 21 hours 1 minute | AWSALB is an application load balancer cookie set by Amazon Web Services to map the session to the target. |
| uaid | 1 year | This is an Etsy browser cookie used for analytics, security, and site personalization. |
| Cookie | Duration | Description |
|---|---|---|
| _ga | 2 years | The _ga cookie, installed by Google Analytics, calculates visitor, session and campaign data and also keeps track of site usage for the site's analytics report. The cookie stores information anonymously and assigns a randomly generated number to recognize unique visitors. |
| _gat_cbias1 | 1 minute | Google Analytics sets this cookie to throttle request rate. |
| _gat_gtag_UA_64981108_1 | 1 minute | Set by Google to distinguish users. |
| _gid | 1 day | Installed by Google Analytics, _gid cookie stores information on how visitors use a website, while also creating an analytics report of the website's performance. Some of the data that are collected include the number of visitors, their source, and the pages they visit anonymously. |
| ad-id | 8 months 14 days | The ad-id cookie is provided by Amazon Advertising for tallying user actions by tracking ad clicks on other websites, to provide targeted content. |
| CONSENT | 2 years | YouTube sets this cookie via embedded youtube-videos and registers anonymous statistical data. |
| fve | 1 year 1 month | This is an Etsy analytics cookie used for first visits. |
| Cookie | Duration | Description |
|---|---|---|
| _fbp | 3 months | This cookie is set by Facebook to display advertisements when either on Facebook or on a digital platform powered by Facebook advertising, after visiting the website. |
| ckid | never | This cookie is set by the provider Yieldoptimizer. This cookie is used to track visitors on multiple websites, inorder to serve them with relevant advertisement based on visitor's interest. |
| VISITOR_INFO1_LIVE | 5 months 27 days | A cookie set by YouTube to measure bandwidth that determines whether the user gets the new or old player interface. |
| YSC | session | YSC cookie is set by Youtube and is used to track the views of embedded videos on Youtube pages. |
| yt-remote-connected-devices | never | YouTube sets this cookie to store the video preferences of the user using embedded YouTube video. |
| yt-remote-device-id | never | YouTube sets this cookie to store the video preferences of the user using embedded YouTube video. |
| Cookie | Duration | Description |
|---|---|---|
| _inlinkzID | 3 months 8 days | No description |
| _mailapp_session | session | No description available. |
| debug | never | No description available. |
| inlinkz_session | 6 months | No description available. |
| widget-id | 15 days | No description available. |