
Chalkboard Christmas Cookie Tins
Reuse old cookie tins and make them look new again with this easy Christmas cookie DIY project.
Instead of buying new Christmas cookie tins for gifting your homemade cookies, this year you can upcycle old tins and make them into custom cookie tins!
Every year, my mom made batches and batches of different kinds of Christmas cookies to bring to her co-workers, family, and friends. When I was a kid, I loved baking cookies alongside her.
I’ve continued the tradition of baking Christmas cookies to give to loved ones and enjoy planning out the different types I’ll bake and give each year. For many years, I always purchased new tins from the craft store to give the cookies in.
Then, I started seeing those same tins at the thrift store. Were they the exact ones I gave to my friends and family that no one wanted to keep? Who knows, but it got me thinking about how wasteful it was to purchase new tins every year, especially if others don’t actually want to keep them anyway.
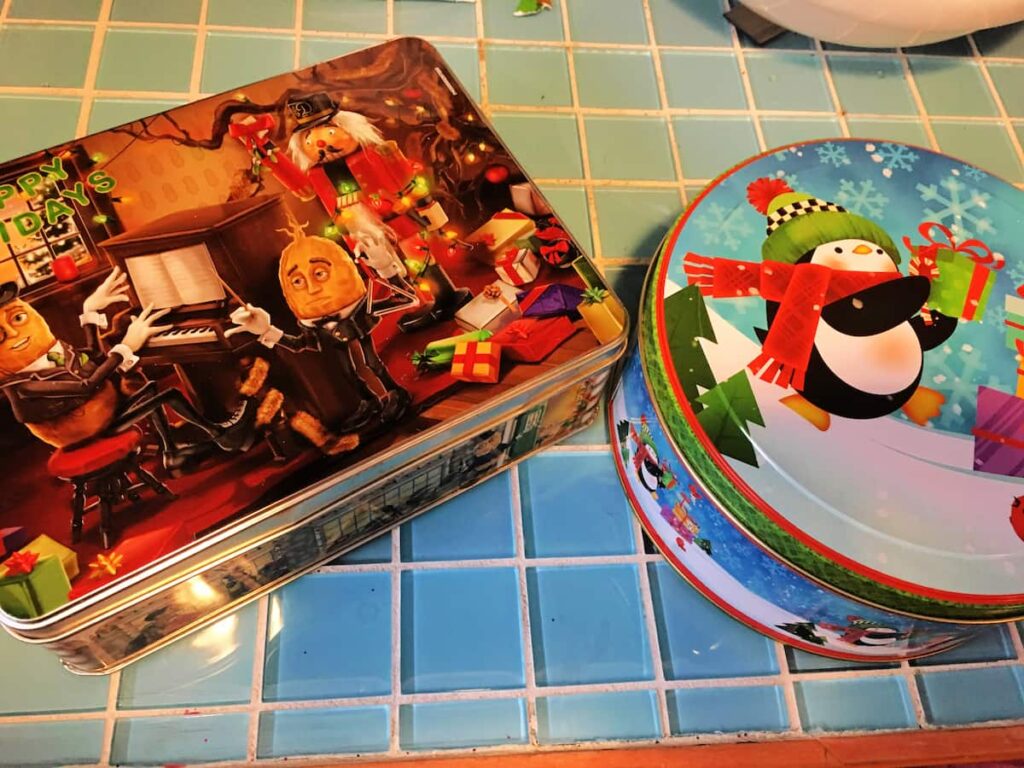
Last year, I did things a little differently. Instead of going to the craft store, I went to the thrift store and purchased some old tins.
As you can probably guess, the patterns were not the best, and some of them had nothing to do with Christmas whatsoever. I decided to transform those uglies into a functional cookie tin, that I hope the recipient might be able to find another use for in their home.
This post contain affiliate links. You can read my full disclosure policy here.
Supplies Needed
- chalk paint (or make your own using this DIY chalk paint recipe)
- Chalkboard paint (here is my favorite brand)
- Old cookie tins
- Paintbrush
- chalk, chalk pencil, or chalk marker

Paint the Cookie Tins
- Lightly sand the surface of the tin with 220 grit sandpaper to help with adhesion.
- Paint the bases of the cookie tins using chalk paint. Any brand will work fine as they all adhere well. (I tested all major brands of chalk paint side by side to find the best chalk paint, so I can say this with confidence.)
- Paint the lid of the cookie tin with chalkboard paint. It’s important to use brush on paint rather than spray paint because it creates a better “writeable” surface. (You can see that comparison in this post all about chalkboard paint.)
- Paint 3-4 coats of the chalkboard paint on the lid and then let it dry and cure completely (usually at least 24 hours).
Write on the Chalkboard Tins
After the chalkboard paint has dried, use a piece of chalk to “season” the chalkboard lid. To do this, take a piece of chalk and hold it on its side. Then, run it back and forth horizontally, then vertically on the surfacing, covering the whole chalkboard with chalk.
Erase this chalk and your surface will be seasoned which allows chalk to write much better on the surface.
Use a piece of chalk or a chalkboard marker to write the names of the cookies on the top. (Note: chalkboard markers don’t erase as well as regular chalk. If you’re hoping for the person to reuse it, it’s better to just use chalk or a chalk pencil.)
Here’s a full post with my best tricks on how to write perfect letters on a chalkboard!
I decided to label the types of cookies in the tin, based on where they were placed inside. You know, just like how Fannie May and Jelly Bellys give you the varieties on the inside of the lid so you know just what you’re eating?
After eating all the cookies, I hope my friends and family will erase the chalk labels, and then use this tin for another purpose!
Post by Jenny Leads
Jenny is the voice behind Refresh Living. She has a passion for helping people to create a home they love without spending a lot of money.