Painted Furniture Before and After Reveals
A look back at my very first furniture flips ten years ago! I’ve learned a lot since painting these pieces and would do something different on almost all of them, but I didn’t want their before and after transformations to be gone forever.
If you love the idea of saving old furniture from the trash as much as I do, I would recommend checking out my full page on furniture refinishing. It not only includes the furniture before and after projects that still live on my site, but also everything you might need to know about how to refinish furniture!

We’re going back, way back, to some of my first pieces of furniture I refinished. I refinished all of these pieces anywhere from 7-10 years ago, and I have learned A LOT since that time. Most of these pieces I look back on with some (or A LOT of) regret, but I can also think about the technique I practiced, trick I learned, or paint I tried that has brought me to the place I am today. So, although you won’t be able to find these specific posts on my blog anymore, here’s a quick overview of the transformations.
Refinished Dining Chairs


I found this set of mismatched dining chairs and refinished them with chalk paint and coordinating upholstery. I used chalk paint on these chairs and finished with a water-based clear topcoat.
Although I think the three mismatched chairs could now easily be used at the same table, someone bought the two gray chairs and another person bought the turquoise one separately.
Antique Gate Leg Table with Natural Wood Top and Painted Legs


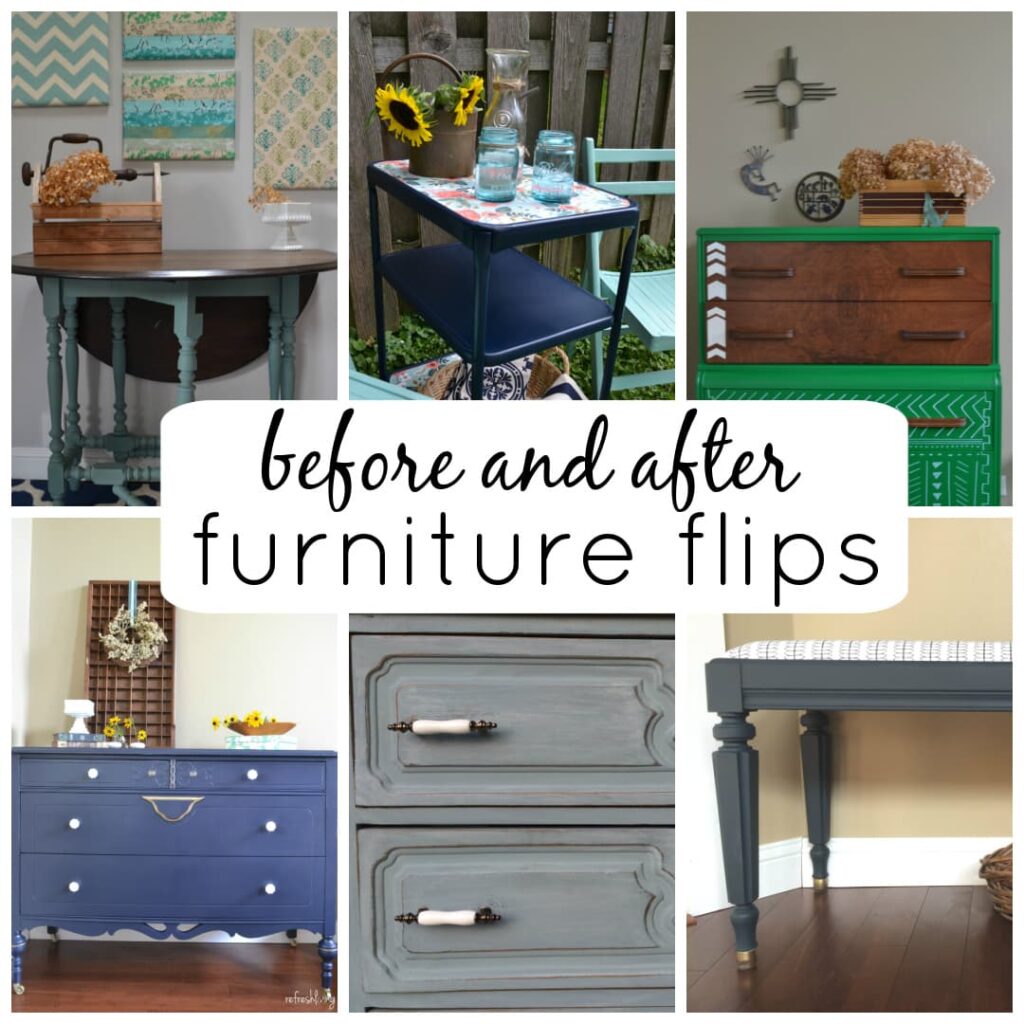
Would you believe I found two of these gorgeous antique gate leg tables at the same estate sale, and they were only $15 each?! As you can guess, I snagged both of them up. I stripped down the top of table using this technique for stripping wood furniture and painted the legs in Miss Mustard Seed Milk Paint. (I think I did a custom blend of colors for this table, but it’s closest to the current color Teal Ocean.) It’s sealed with furniture finishing wax.
Vintage Sewing Chair
 before
 after
after
I loved this MCM sewing chair when I saw it in the corner of a basement at an estate sale. I painted it with Miss Mustard Seed Milk Paint (with bonding agent added) in the color Artissimo. Here’s a post describing the pros and cons to using milk paint.
I’m still using this chair as my own sewing chair. It even has a little drawer under the seat for storing sewing supplies!
Vintage Dresser Refinished in Navy Blue with Gold Accents


This is one of the pieces that I look back on and regret. The wood grain and details on this dresser were gorgeous and I painted over all of them. Then, I used gold in so many weird places that it just doesn’t work. Of course, all of this can be changed with furniture stripper or another coat of paint, but it’s just not my favorite piece.
Refinished Vintage Metal Cart


I know it looks like the original cart is in good condition, but I promise I tried to clean it up and it was still rusty and messed up in some places that can’t be seen in this photo. (But isn’t that vintage green color amazing?)
I used metal spray paint primer and then regular spray paint to paint this piece. Then, I used Mod Podge to glue pieces of decorative paper to the shelves. I finished each shelf with three coats of clear polyacrylic.
MCM Dresser Makeover


I feel the need to apologize to this dresser 1,000 times over. I am SO sorry I painted over your gorgeous wood veneer! And to think I painted over it with THIS?! I’m actually embarrassed to even show this before and after. I was part of a furniture painting challenge group and with the theme of “stencils”, I got carried away, and I ruined this piece. Imagine what she could have looked like if I had refinished the wood on all the drawers in a lighter shade?
Someone purchased this piece from me, but I would LOVE to get my hands back on it and restore it back to life again. I guess the motto is you live and learn (and ruin dressers).
Whitewashed Chairs


These farmhouse style chairs were in need of some help to be functional again. I cut out new seats and used foam and fabric to lightly pad and upholster them. I considered leaving the wood natural (and today I probably would have), but instead used the diluted paint whitewashing technique to brighten up the color while also highlighting the wood grain. I learned a lot about the best tricks for whitewashing wood by working on this project!
Old Buffet Refinished into Toy Storage


I picked up this buffet for free on the side of the road and decided to remove the drawers to use it as open toy storage for my young kids. The inside of this cabinet had oil stains, so this was the piece of furniture I learned about the importance of using the right kind of primer for furniture.
Refinished Piano Bench


This piano bench was painted with Miss Mustard Seed Milk Paint (with bonding agent) and the top was recovered with new fabric. I cleaned up the brass feet and it looked good as new!
If you’re planning out your own furniture refinishing projects, here are a few posts that might help you on that journey:

Post by Jenny Leads
Jenny is the voice behind Refresh Living. She has a passion for helping people to create a home they love without spending a lot of money.