
How to Strip Wood Furniture
Detailed steps on how to strip wood furniture to reveal the natural wood finish. These tips make stripping furniture easy with great results, every time!
Today, we’re talking about stripping furniture! No fancy introduction today – we’re going to go right into the best stripper for wood furniture and my favorite tricks for stripping furniture.
No matter how I word posts about furniture stripping, I always, always, smirk to myself the entire time. Everything reads quite awkwardly when talking about this topic. So, try to get your head out of the gutter and let’s get to some stripping!
This post contains affiliate links. For a detailed description of my disclosure policy, please click here.
What is Furniture Stripping?
Stripping furniture is removing the preexisting finish, topcoat or paint from a piece of furniture so it can then be stained, bleached, and refinished.

If a piece has multiple layers of old finish, you’ll work to remove those different layers in order as you strip the piece. There are a few different ways to strip furniture and remove the old finish. The three main options are to use chemical stripper, sanding, or high heat.
Chemical Strippers
Chemical strippers are specifically made to remove paint and finish from wood furniture.
Most formulas I find at home improvement stores today are more eco-friendly with less extreme fumes, but either way, they are still made of chemicals and caution should be used when using stripper.
Wearing gloves and using it in a well-ventilated area is important. Additionally, be sure to cover your work area with a plastic drop cloth.
A few of the most common brands of stripper available at most home improvement stores include CitriStrip and Klean Strip. I’ve used both brands, along with a few others in the past that I haven’t been able to find in stores recently, and they all work. My personal opinion for the best furniture stripper is Citristrip (more details on why below).
Oven cleaner can also be used to strip furniture. I’ve personally never used this method. Honestly, I don’t plan to even give it a try as the type of stripper and the process I use for stripping furniture always works well for me. If it ain’t broke, don’t fix it!
Sanding
It is possible to remove old finish just by sanding, but it takes a lot of patience and lots of sandpaper. If a piece of furniture does not have a finish layer (like polyurethane, lacquer, shellac or clear coat), sanding to remove the color of the wood will work well.
However, if a piece has a finish layer (and almost all pieces do), sanding will be much more labor intensive. Finishes quickly gunk up the sandpaper on an electric sander and the pieces will need to be switched out often.
Additionally, sanding is more abrasive to the wood which can cause scratching and the possibility of sanding through thin layers of veneer if your piece is not solid wood.
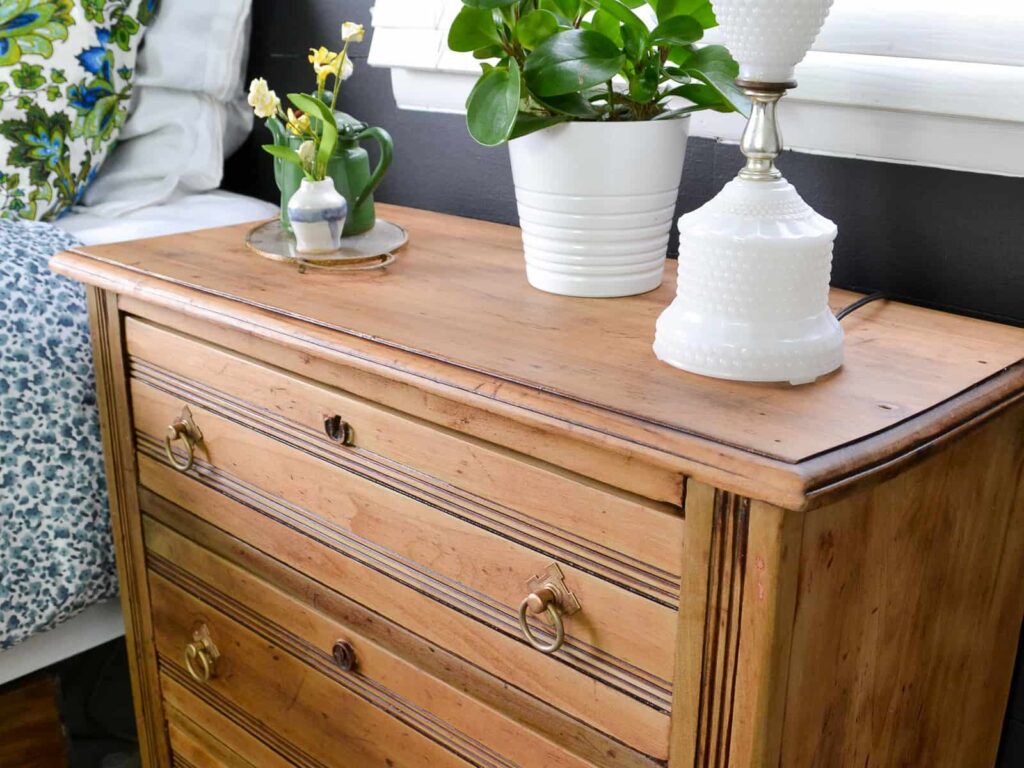
If you want to get down to the natural wood, I recommend stripping the finish using a chemical stripper, and then using your sander to remove the remaining color left from the old stain. (Even in the photo above, I first stripped this dresser and then sanded!)
Heat Stripping
This method works well for removing paint on furniture, but I’ve also read it can be used to remove clear finishes on furniture as well.
I’ve personally only used this method for removing paint once, so rather than giving my personal recommendations on this, I’m going to refer you to a few tutorials on heat stripping.
In short, you’ll use a heat gun to heat up a small section of the piece. Once it starts to bubble up, use a plastic scraper to scrap away the finish, working in the direction of the wood grain.
Best Method for Stripping Furniture
The best way to strip furniture is to use a chemical stripper to remove the finish. Then, sand to remove any additional color and reveal the natural wood. It’s a fast process that works well and is easy to do.
Personally, my favorite stripper is CitriStrip stripping gel. It’s the only stripper I now buy and I haven’t ever had a project it didn’t work well on. Plus, it’s thicker consistency allows it to be easily used on vertical surfaces (as well as flat surfaces) with minimal dripping.
I’ve had a few readers mention that it didn’t work for them, or that they think the formula changed. I believe them, of course, but I haven’t had any bad experiences with this stripper in the past 12 years. I’ll be sure to update this post if this changes!
Supplies Needed for Furniture Stripping
- CitriStrip (definitely my favorite stripper)
- plastic spatula knife
- cheap bristle paint brush
- paint thinner, mineral spirits, or stripper wash
- plastic wrap/Saran wrap or plastic drop cloth
How to Strip Furniture
Apply the Stripper
The first step is to lay on the Citristrip in a thick layer using the cheap brush. I prefer to work in smaller sections, usually stripping the entire top of a piece first, and then doing the sides after that.
You can choose to strip the entire piece at once, you’ll just need more plastic. Instead, work in small sections and then I can reuse the plastic in multiple sections before tossing it.
Stripper tends to be pretty messy, so doing parts separately helps me to have a place on the piece that isn’t covered in stripper to grab onto if needed.
After the stripper is applied, lay a large piece of plastic across the entire surface, pushing down lightly to help the stripper make contact with both the surface and plastic.
Thin, plastic drop cloths work well for larger surfaces. If you’re stripping a smaller area, plastic wrap (or Saran wrap) will also work just fine.
Don’t skip this step! Furniture stripper needs to stay wet and the plastic wrap helps to keep the moisture close to the surface. If you don’t add the plastic, the stripper dries out faster which makes it much harder to remove later.
Citristrip can work in as quickly as 15 minutes, but it can also be left on for as long as 24 hours (as long as it remains wet).
Usually, I let the stripper sit under the plastic overnight. By the next day, the stripper has had adequate time to work, and the finish usually comes off really easily.
How to Remove Furniture Stripper
To remove the stripper, use a plastic scraper to scrap away the finish and gunky stripper gel, working in the direction of the wood grain.. This step is messy!
I like to use a small box lined with a plastic bag to scrape the finish into and easily throw away.
At this step, you should see most of the finish being scraped off. If it’s not pulling off the finish, let it sit covered in plastic for a few more hours to see if that helps.
Usually, one coat of stripper is enough to remove most of the finish and you can move on to the next step.
Sometimes, a piece may need another coat to remove the rest of the finish, especially if multiple layers of finish were used. If you’re unsure, I’d recommend just doing one more coat of stripper. It will make the rest of the process much easier and faster!
Clean the Stripper Residue
No one likes stripper residue. (. . .) After stripping away the finish, use fine steel wool (400 grit or higher) or a scouring sponge dipped in paint thinner, mineral spirits, or stripper wash to wipe away the excess stripper and gunky finish.
Then, use a scrap towel to wipe away any extra dirty mineral spirits from the surface.
Using toothbrush dipped in mineral spirits and the edge of a metal scraper to remove the extra stripper caught in grooves and crevices.
When stripping finish from detailed areas or spindles or legs, you won’t be able to scrap off the finish. Instead, use a piece of steel wool, a scrub brush and mineral spirits to remove the stripper gel from those areas.
How to Sand Furniture to Natural Wood
After removing the excess stripper, use 120 grit sandpaper to finish removing any extra finish that might be left over. This will also remove any color from previous stain because it is taking off the top layer of the wood.
An orbital sander is my favorite tool for sanding furniture, but you can also use an oscillating tool or detail sander. Sanding to the natural wood will be much more difficult if you sand by hand. It is possible, it just takes so much longer.
After sanding with 120-150 grit to remove any color/finish, lightly sand with 220 grit sandpaper to create a smooth finish.
After sanding, use a tack cloth or cotton shirt to remove any excess dust.
Apply Stain and Clear Coat
After the piece is down to bare wood, you can stain it to add color, or jump right to applying a clear topcoat.
When applying a topcoat, always brush it on in the direction of the grain of the wood.
Adding a topcoat will darken the color, so don’t be alarmed when this happens. Some finishes darken the wood more than others. Follow these general guidelines for choosing top coats for raw wood
Oil-Based Polyurethane
An oil-based polyurethane will most certainly darken the finish of your piece of furniture. Now, this isn’t necessarily a bad thing. It penetrates the pores of the wood and accentuates the wood grain beautifully. This creates a finish with beautiful depth. (More so than water-based top coats, in my opinion.)
Oil-based polyurethane gives a slightly yellow tone and will yellow slightly over time (which is usually not noticeable on wood furniture, but can be quite noticeable if used on painted furniture).
Clear Acrylic Topcoat (also called water-based polyurethane)
In the last several years, stain and wood finish manufacturers have been making water-based clear coat finishes. This will only darken your wood finish slightly.
If you’re looking for a raw wood look, a water-based topcoat is the one you should use.
When applying a water-based clear coat, it will look cloudy at first (as compared to an oil-based finish) but will dry to a clear finish that protects the wood.
This product has the least amount of smell and offers the easiest clean up with water.
Furniture Oil
Tung oil, hemp oil and other types of furniture oil can also be used on furniture. Most of these are applied using a rag (rather than a brush). They will darken the color of the wood and need to be reapplied every couple of years.
Shellac
Shellac is a natural substance made from the secretions of a beetle! It’s a great way to seal in any odors coming from old wood furniture.
This finish will deepen and richen the color of the wood, but it doesn’t create a very tough finish, so an additional topcoat should be applied over shellac to prevent scratching.
Oil-based polyurethane can be applied over any kind of shellac. Water-based polyurethane can only be used over dewaxed shellac.
Frequently Asked Questions
Can I sand my furniture instead of stripping it?
People tend to have a strong preference in the debate of stripping versus sanding when refinishing furniture.
If I want to refinish a piece of wood furniture, I always strip it first and then sand to remove any imperfections or get the wood to its natural color. The reason I prefer to strip first is because sanding through old finish (varnish, lacquer, shellac) is a MESS! It eats up the sand paper in my orbital sander so quickly.
The gunk from the old finish gets stuck on the sandpaper after using it on a small part and then the sandpaper needs to be switched out. I’d prefer to strip first, and then use one piece of sandpaper on my piece rather than over 10 pieces!
Do I need to strip furniture before painting it?
There is no need to strip furniture before painting. Paint will stick to furniture as long as you correctly prep your piece before painting. Here is my complete guide on how to paint furniture with everything I do when painting furniture.
Is steel wool okay to use to clean furniture?
In one of the steps above, I recommend using fine grade steel wool to clean off the stripper with mineral spirits. I have seen some advice to not use steel wool because the tiny metal fibers can embed in the wood and will rust under the finish layer.
Personally, I have never had this happen to any of the pieces I’ve refinished. If you’re worried about this, just use an abrasive scouring green pad sponge instead of steel wool. Or, stainless steel steel wool is also another option.
For a long time, I was intimidated by the furniture stripping process and actually avoided trying it out for a few years.
However, now that I’ve seen just how well it works to remove the dirty layers of old finishes or old paint, it’s always an option when I’m refinishing a piece of antique furniture.
I have found some of the most gorgeous wood grain hiding beneath just a layer or two of an old finish!
Here are a few of my favorite pieces of furniture I’ve stripped and applied a new finish to.
As always, if you have any questions about this topic, or have a specific question about a piece you’re working on, please feel free to reach out!
Interested in furniture refinishing with painting? I also love to update old pieces with paint as well! Here’s how to choose the best kind of furniture paint for your particular piece of furniture.
Post by Jenny Leads
Jenny is the voice behind Refresh Living. She has a passion for helping people to create a home they love without spending a lot of money.
Thank you so much! Great simple directions. So far, so good!
I’m so glad it was helpful!
I just found your website and it is really inspiring!
I have a 1875 walnut dresser that has a beautiful original finish, so I am not touching that. But the inside! Ugh! The bottoms of the drawers are very rough, and very dirty, even after several cleanings. The interior of the cabinet is also very rough in some places, and also very dirty. I guess those Victorians didn’t waste time or money on things that didn’t show. What would you do to clean this piece up?
Thanks for any help-
Kathy
Hi Kathy. Sounds like a beautiful piece, and I’m personally glad you’re leaving the original finish as is! The interior is also walnut, correct? But just a rough sawn cut? This usually allows for much more dirt and grime to get stuck in all those crevices over the years. If you’re looking for a cleaner that might cut through that, I would recommend TSP substitute cleaner. Murphy’s wood soap cleaner is great for wood and what I use on wood furniture, but I wonder if it will have enough cleaning power to clean what you need. If you’re looking to possible “refinish” the inside, I might recommend sanding the interior wood down (I’m guessing it doesn’t have a pre-existing finish on it?). This should help clean up the wood too. Then, I would probably try to put a protective finish on the inside – either polyurethane or shellac. This will make it easier to clean in the future. That’s my best recommendation without actually seeing the inside. Let me know if you think that would work based on what you’re seeing!
Great info. I have my grandmothers dining table (60 yrs maybe). Years ago I stripped white paint and stained. Now the tabletop protective coat, urethane ?, is peeling. I intend strip protective coat and old stain to bring natural color.
This is heavily used and not gently by young grandchildren. After getting to natural color then what ? Condition it with? Then what do I use to protect against spills , scratches. Thx
Hi Kathy. I would highly recommend a topcoat called Arm-R-Seal by General Finishes. It takes several coats, but develops an amazing protective topcoat that penetrates the wood. It’s pricey (compared to other products you can buy from home improvement stores) but worth it in my eyes. It’s what I used on the top of my own dining table and I have 4 very gross and destructive young kids! I don’t condition the raw wood beforehand with this because it does such a good job of penetrating the pores of the wood. If you do go this route, just be sure to wipe off excess after each application while still wet – if not, I’ve heard people say the finish is streaky (I’ve never had this problem using it though). Best of luck on your project!
I’m getting ready to strip an old bookcase and desk that were my dad’s when he was a kid. They both have spindles on them. How do I strip those? I’m sure I can paint the stripper on with no problem but I’m not sure how I’d scrape it off.
Sorry for the delay in my response, Michelle. Spindles are a pain in the butt to strip but it can be done. I apply the stripper, wrap it in plastic wrap and let it sit for 24 hours. Then, you can use a green scouring pad or fine grade steel wool dipped in mineral spirits to rub off the stripper. It’s messy, but it works.
Hi, Jenny! Your card catalog is beautiful, and just the look I’m found for on my 1920’s oak chemistry lab cabinet. It has 8 drawers and four cabinet doors. I used oil soap to get rid of the grunge and then furniture refinisher and steel wool to remove the old stain and finish. What stain and finish did you use on the card catalog? Thank you!
Hi Bonnie. Sorry for the delay in my reply – you might already be done with your project! First, your piece sounds GORGEOUS!! I used natural color stain (either Minwax or Varthane – I can’t remember which brand but their natural color is the same for both) and for the finish I used Arm-R-Seal which is a General Finishes product because I had it leftover from another project. Arm-R-Seal finishes in a similar color as regular oil-based polyurethane, so you could also use that to give a similar color. Best of luck on your project!
Hi Jenny,
I have painted and refinished several pieces of furniture. I have a small table that I want to use as a bedside table in a guest room. It is painted with General Finished Milk Paint, but I would like to just strip it to a natural finish. Do you have experience with stripping that type of paint? I don’t know if that will strip like other paints. I would appreciate any advice.
Thanks
Hi Pam! You should be fine with stripping General Finishes paint using Citristrip. I’d still recommend using plastic wrap on top of the stripper to let it work. Then, it should come right off. If there was a topcoat used, it may need two coats of stripper (or just let it sit under the plastic for longer and it should be good).
Thanks so much for all your great advice! I’m taking on my first piece of furniture which has dark stained veneer on the top. I’ve stripped it twice with citristrip and sanded with an orbital sander with 120 grit and I can’t seem to lift off the layer of dark stain. I am also getting a lot of muck on my sandpaper which looks to be from the previous stain. Any advice for me? Could I need an upgrade on my orbital sander??
I’m sorry for the delay in my response. You may have already figured out your next steps! It sounds like there is still at least one layer of topcoat left (which seems odd given that you’ve stripped it twice!) After applying the stripping, does gunk seem to be coming off when you scrape it off? Sandpaper getting all gunked up quickly is usually a sign that you’re sanding through old layers of polyurethane. Stripping has always removed this for me, so then the sanding is much, much easier. It sounds like the stripper isn’t working because if it was just stain, you won’t see sandpaper get gunked up. A carbide scraper will remove layers of finish, but I find it to be more work than I like to put in, but it does help to remove a lot more before going in with the sandpaper. I’m sitting here wondering what could be on top of your piece of furniture?? I’d love to hear if you figured it out. Send me an email and let me know!
Thank you so much for sharing your knowledge gained thru trial and error. This saves us readers tears and misery! So much detailed and thorough advice. Thank you so very much.
I’m so glad you found it helpful. Thanks for taking the time to share!