
All About Milk Paint
If you’re thinking about painting a piece of furniture and considering using milk paint, this post will give you everything you need to know about this type of paint.
I’ll cover how to mix milk paint, how to paint with milk paint, how to achieve a chippy or non-chippy finish, and the different top coats for milk paint.
There are many advantages to milk paint, but also some important tips and tricks to keep in mind to create a long-lasting, beautiful finish on painted furniture.
If you’re looking for information on other types of furniture paint, this post will give you a full comparison of the five best types of paint for furniture (includes information on “all-in-one” paint, milk paint, chalk paint, alkyd paint, and “wall” paint).
What is Milk Paint?
Milk paint is a type of paint that comes in a powder form and is mixed with water to create a paint. It is made from all-natural organic materials and has been used for thousands of years as a nontoxic paint.
This earliest form of paint creates a matte finish and can be used on a variety of surfaces including wood, concrete, brick, and even walls. It gives slight variation in color throughout the piece and truly creates an authentic antique look on furniture.
AN Important Note:
Neither General Finishes Milk Paint nor Rust-oleum Milk Paint will be mentioned in this post. In fact, neither of these paints are actually milk paint.
General Finishes is a beautiful, 100% acrylic paint that I would categorize as an “all-in-one” type furniture paint. (It is one my favorite types of furniture paint and I’ve even used it on kitchen cabinets, it’s just NOT a milk paint!)
Rustoleum Milk Paint is a latex paint that is made to create the look of milk paint, however, it is not a true milk paint. Check out my full review of Rustoleum Milk Paint here.
Milk Paint Ingredients
Milk paint is made of 100% natural ingredients consisting primarily of milk protein (milk casein), lime (calcium carbonate), and natural pigments to give the paint color. Due to its ingredients, it is VOC (volatile organic compounds) free, nontoxic, and food safe.
This means milk paint is safe to paint on wooden kids toys! Choose a natural finish (like hemp oil – see more on this below) to keep the finish nontoxic as well.
Using Milk Paint on Furniture
Milk paint creates a matte finish that also has a sense of texture with ever so slight color variation due to the fact that it is made from different powdered pigments.
It’s a thin paint (compared to many other furniture paints), so it almost always requires three light coats. However, it dries very quickly and therefore a second coat can be applied in about 20 minutes.
Unlike many other paints, yet similar to a stain, it penetrates the pores of unfinished wood. This make it an excellent choice for painting raw wood furniture or creating color washes on unfinished wood.
However, even if you are painting finished (sealed) wood, milk paint is an option. It can be painted on finished wood to create a chippy, time worn look, or a bonding agent can be added to create a uniform, smoother finish.
It’s important to use a top coat when painting with milk paint. It’s a porous paint once dried so it will absorb water or other materials that come in contact with it if it’s not finished in some way. Jump ahead to read about topcoats for milk paint.
Pros and Cons of Milk Paint
While there are many advantages to milk paint, there are also some limitations that may not make it the best choice for your particular furniture painting project.
PROS OF MILK PAINT
- Eco-friendly, 100% natural, non-toxic paint
- Can create a chippy or non-chippy look easily
- Penetrates porous surfaces like raw wood and brick
- Easily thinned to create beautiful washes on wood
- Powder is easy to mix together to create custom colors
CONS OF MILK PAINT
- Powder must be mixed with water to form paint
- Needs an additional bonding agent if used on non-porous surfaces
- Short shelf life once mixed and needs to be stored in the fridge due to the milk component in the paint (it will actually go sour if not!)
- Needs to be finished with a topcoat
Personally, I love the way milk paint can create a very slight and natural antiqued look on furniture. I don’t use it for every piece I paint, but it can give a dresser, cabinet or chest a completely new look while still honoring the age of the piece of furniture.

Milk Paint Brands and Cost in 2023
There are only a few different companies that make milk paint. I’ve used all of these brands of paint and honestly do not notice a difference between brands. All of these are great paints and I can recommend as the best milk paint!
Deciding which brand of paint to use might depend on where you can find the closest milk paint supplier. All of the websites listed below have an area on their site to search for local retailers. You can also purchase all of these paints online as well.
| Brand of Milk Paint | Cost of Pint | Cost of Quart |
|---|---|---|
| The Real Milk Paint Co. | $18.99 | $29.99 |
| Old Fashioned Milk Paint | $18.50 | $29.50 |
| Miss Mustard Seed Milk Paint | $22.95 | $34.49 |
| Fusion Milk Paint | N/A | $27.99 |
| Tuscana Milk Paint | N/A | $25.50 |
How to Use Milk Paint
1. Prepare furniture for painting
No matter what type of paint you’re using, it’s essential to properly clean and prepare your piece for painting.
I have a full post on how to prepare furniture before painting, but in short, when using milk paint, I clean my piece well and lightly sand with 220 grit sandpaper.
2. Evaluate surface to decide if bonding agent is needed
Bonding agent is a separate solution that can be added to milk paint to give it properties to bond to non-porous surfaces.
Milk paint naturally penetrates into porous surfaces like raw wood and unsealed brick or concrete. If you are painting something with a porous surface, you do not need to add bonding agent.
If you’re looking for an intentional chippy finish, then skip to the next step and do not add bonding agent.
If you are painting over a non-porous finish, like a previously painted surface, wood with an existing finish (usually has a glossy sheen), or laminate, you will need to add the bonding agent to the paint. If you don’t you will most certainly experience chipping of the paint.
If you are painting over furniture that has a wax finish, you can remove the wax with mineral spirits before applying milk paint. Alternatively, if the wax is cured, you can use bonding agent and paint over the wax.
Use bonding agent
- if you’re painting over finished wood and want a consistent, non-chippy finish
- if you’re painting over cured wax finish
- if you’re painting over laminate
Do not use bonding agent
- on unfinished, raw wood surfaces
- on unsealed concrete or bricks
- if you’re painting over finished wood and want a chippy finish
3. Mix milk paint
When mixing milk paint, there are a few tricks that help to give you the best results when painting.
Remember, you can mix up the amount of paint needed for your project, but you will generally stick to the ratio of 1 part powder to one part water. (If you want to create a wash on raw wood, this ratio will change. Jump ahead to read more about color washing wood with milk paint.)
Milk Paint Mixing Ratio
Mix milk paint at a ratio of one part water to one part powder. Be sure to add the water to the mixing container first, then add the milk paint powder. If adding bonding agent, add one part bonding agent to two parts mixed paint
It’s important to add the water to your mixing cup first. Then, add the paint powder and stir. I’ve found that hand stirring just doesn’t mix the pigments well enough, so I prefer to use a small, battery operated hand blender (or a milk frother) to perfectly mix my milk paint.
Another trick for mixing milk paint is to place a marble in a jar that can be sealed. Then, add water and milk paint, seal the lid, and shake the jar with the marble to mix.
First, mix the paint for 1-3 minutes then let it sit for 10 minutes. Use the hand blender to mix one more time for 1 minute. At this point, you may need to add a little more water or a little more powder to achieve your desired consistency.
For example, if you are washing the wood, you would want a much thinner paint and should add more water (more on this below). For stenciling, it’s better to use a thicker paint so it doesn’t bleed under the stencil.
Add Bonding agent (if desired)
After the paint is mixed thoroughly as described above, add the bonding agent if you want the paint to fully adhere. Add one part bonding agent to every two parts paint. For example, if you have 1/2 cup of paint, then add 1/4 cup of bonding agent.
To achieve very light chipping, you can reduce the amount of bonding agent and only apply at a ratio of one part bonding agent to every four parts paint.
If you are painting a very slick piece of laminate furniture, add bonding agent at a ratio of one part bonding agent to one part paint.
Add a resist To Create Controlled Chipping
In the video, I give more details on how to achieve a distressed look with milk paint, while still controlling the level of chipping.
Basically, you can apply a little bit of oil or wax to the piece of furniture before painting, in the places you would like the wood revealed under the paint. Then, add bonding agent to the paint and paint over the entire surface.
Once the paint dries, use 320 grit sandpaper to sand away the paint in the places where you applied the wax or oil. The paint will distress away very naturally in these places, but stay stuck in all of the other places (because bonding agent was used).
4. Apply milk paint
Use a natural or synthetic bristle brush to paint your piece of furniture. A brush creates the best finish when using milk paint. Personally, I don’t prefer to use a roller or a paint sprayer with milk paint.
Paint a thin coat on the piece and let it dry. Milk paint without the bonding agent dries in 15-30 minutes. Milk paint with the bonding agent needs 12-24 hours of dry time before applying the second coat. This ensures that the bonding agent has time to cure and the second coat doesn’t remove the first layer of paint.
When painting, be sure to mix the paint every so often to incorporate the color pigments evenly.
5. Lightly sand between coats and after final coat
After the first coat of paint has dried, lightly sand with 220-300 grit sandpaper before painting the next coat. (I recommend using this technique no matter what type of paint you are using. Sanding helps create the smoothest finish possible.)
If you are looking to create a layered paint finish that shows different colors of paint, this post will give you three different ways to use a resist to create a layered or chippy look: how to distress furniture.
Usually, I find milk paint generally needs three coats of milk paint to create a uniform finish. Different from most other types of paint, it’s recommended that you lightly sand the last coat of paint with 300 grit sandpaper before applying a topcoat. This will smooth out the finish and allow the topcoat to accentuate the variations in the paint.
Due to the porous nature of milk paint, the color of the paint after it dries is not yet the finished color. The paint will darken and become more rich after a top coat is applied.
Store any extra paint in a tightly covered container in the fridge for 1-2 weeks.
Top coat For Milk Paint
Milk paint is a porous paint, so it’s important to apply a top coat so it doesn’t absorb liquid or other materials that might get on it. There are a few different options for and each will give a slightly different finish. Here are the different clear coats for milk paint:
- Finishing Oils: Two natural finishing oils that work well on milk paint are tung oil and hemp oil. Both will darken the milk paint slightly and will need to be reapplied every so often to maintain their finish. This finish is perfect for light use pieces of furniture.
- Finishing Waxes: Waxes create a low-level sheen finish with a hand rubbed look. They need to reapplied every so often to maintain their finish. They can be buffed to create a shinier finish.
- Clear Acrylic Finish: This type of finish is painted on and will completely seal the paint. (These finishes are not natural.) They can be used to maintain the level of “chipiness” without allowing it to continue chipping (more on this below). This is the best finish option for a piece that will be in a high use area, like a dresser or table.
You can see a side by side comparison of these three types of top coats in the video within this post.
My Favorite finish for milk paint
My personal favorite topcoat for milk paint is to use furniture wax. However, furniture wax doesn’t darken the paint as much as hemp oil, so I often prefer to apply a coat of hemp oil, let it sit overnight, and then apply the furniture wax.
This gives the benefit of both top coats: the hemp oil accentuates the variations in the milk paint, but then the furniture wax gives the finish a hand rubbed sheen that protects the finish really well over time.
Note: If I use hemp oil as a resist between layers of paint, I always use a coat of hemp oil first before applying furniture wax. This evens out any remaining hemp oil showing through the paint from the layering.
How to Use Milk Paint as a Wash on Wood
This is one of my favorite uses for milk paint. Due to the fact that it penetrates raw wood (rather than sitting on the top like many paints do), it create a beautiful way to wash wood with color. Plus, because it’s initially mixed with water to create the paint, it’s very easy to consistently thin the paint with more water.
To create a wash, mix the milk paint as described above, but add more water. The amount you add will depend on how transparent you want the paint to be. I usually double the amount of water (as compared to when mixing a normal batch of paint), but you can add as little or as much water as you want.
Paint the milk paint on the wood, let it sit for a minute or two, and then use a rag to wipe away extra paint, in the direction of the wood grain. You can also use a damp rag to remove more of the paint and create a lighter color if desired.
I used this technique on this piece of reclaimed wood that I used to create our bathroom towel rack.
Frequently Asked Questions
What’s the difference between Milk paint vs. chalk paint?
Although chalk paint and milk paint have some similarities, they are inherently different in how they are made and thus how they are used on furniture. I now have a full post comparing milk paint vs chalk paint!
How do you stop milk paint from chipping?
If milk paint is painted over a non-porous surface (like finished wood, a previously painted surface, or laminate), it will chip. Sometimes, this is the intended look, but over time, the paint will continue to chip. Using a finishing oil or wax will temporary stop chipping, but I’ve found that these finishes don’t really stop chipping over time.
If you like the level of “chipiness” on a piece, it’s important to seal it properly so it doesn’t continue chipping over time. I prefer to use a clear acrylic finish to stop chipping.
I painted an antique mirror with milk paint (without bonding agent) right over the finished wood frame. It created slight chipping at first, but then continued chipping, and chipping a lot. I used a wire brush to knock away loose paint, and then used a coat of Varthane Triple Thick Polyurethane (which is actually a water-based acrylic topcoat) to seal in the paint. It worked perfectly and has stopped further chipping for the last couple of years. (image coming soon)
Which paints are not real milk paint?
There are a few paints that are labeled as “milk paint”, but are not actually true milk paint as described in this post. Instead, these paints have been created to mimic the look of milk paint, but that is where the similarities stop. There is certainly nothing wrong with these paints, but it’s important to note that they are not true milk paint.
- General Finishes Milk Paint – This is actually an acrylic based paint and applies and finishes quite differently that milk paint. (It’s actually one of my favorite brands of furniture paint, though!)
- Rustoleum Milk Paint – Again, it’s an inorganic paint that is made to resemble milk paint. This paint is quite thin (as is real milk paint) and does dry to a similar velvety matte finish. You can read my full review of this paint in this post: Honest Review of Rustoleum Milk Paint.
can I use Milk Paint on Cabinets?
Yes, milk paint can be used to paint kitchen cabinets (or any other type of cabinet). If you want to use milk paint on your cabinets, it’s essential to add the bonding agent to the paint. I would add it at double the normal ratio. Therefore, use one part bonding agent with one part paint.
Additionally, be sure to apply 2-3 coats of a water-based clear top coat to the paint (instead of a wax or oil top coat). My favorite clear coat for kitchen cabinets is General Finishes High Performance topcoat. Personally, my favorite sheen for kitchen cabinets is satin (because it hides fingerprints and smudges better than a flat).
Can milk paint be used on walls?
Yes, milk paint can be used to paint walls! It’s important to use bonding agent if you are painting over a previously painted wall (unless it was painted with milk paint before). Just remember that milk paint is matte and porous once painted, so it won’t stand up to cleaning or dirty kid hands very well.
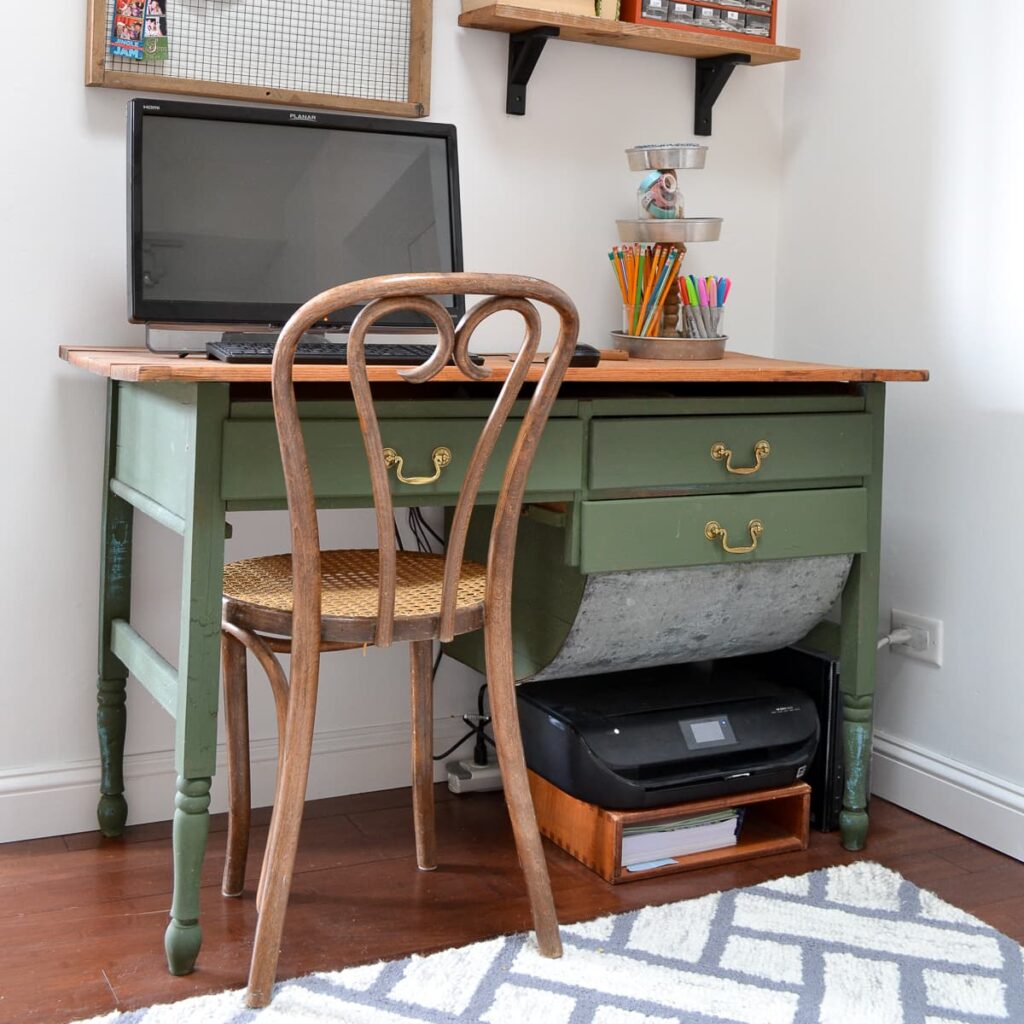
Pieces Painted with Milk Paint
Here are a few pieces that I’ve painted with milk paint. You can click on the image to see the full post including the colors and process used on each piece.
Milk Painted Cabinet
I find the slight variation in the colors of milk paint on furniture to be beautiful and unique. Although this can make the paint a tad bit unpredictable, it gives a finish like no other paint can replicate!
I hope this post answered some of your questions about using milk paint on furniture! Please feel free to reach out with other questions, or you can check out my other posts on different types of paint for furniture:
My Other Furniture Refinishing Posts:
- Five Main Types of Furniture Paint (and how to choose for your project)
- How to Paint Furniture: Step by step guide
- How to Use Chalk Paint on Furniture
- Best Chalk Paint Review (I tested 13 brands!)
- DIY Chalk Paint (I tested 4 different recipes)
- How to Use Milk Paint on Furniture
- Milk Paint vs. Chalk Paint Comparison
- Overview of Alkyd Enamel Paint
- How to Strip Wood Furniture
Post by Jenny Leads
Jenny is the voice behind Refresh Living. She has a passion for helping people to create a home they love without spending a lot of money.