
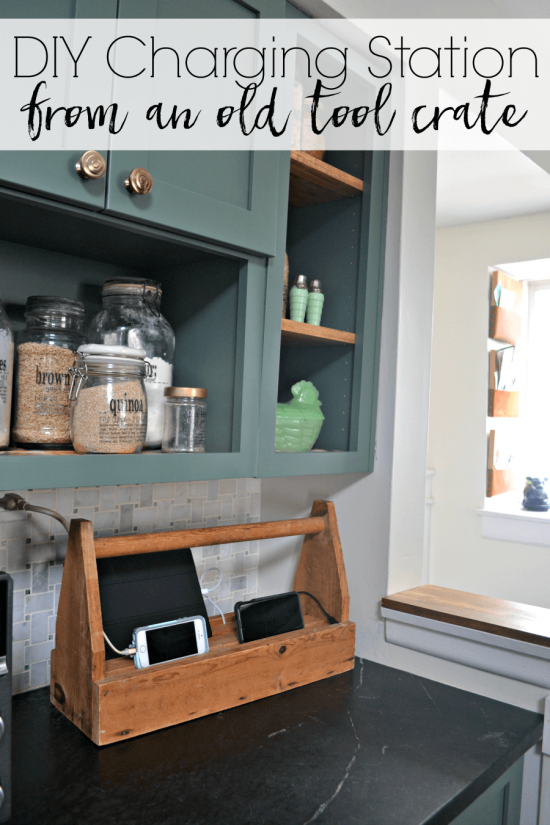
DIY Charging Station from an Old Tool Crate
Looking for a way to corral all of the electronic devices charging cords but still keep them within reach in the kitchen or family room, without creating an eyesore? Check out this idea to upcycle a wooden tool crate as a DIY family charging station!
My husband has recently started to enjoy watching a show while watching the dishes. And I certainly can’t complain about this, because, well, he’s washing the dishes! The only issue I was having with this iPad watching in the kitchen was that he started leaving the iPad plugged in to charge. On the kitchen counter.
Now, our kitchen is small enough as it is (you can see a full look at our kitchen here), without much extra counter space that isn’t needed for prepping and cooking, so I knew I had to figure out a solution that wouldn’t make him grumpy and thus cause him to stop doing the dishes.

I have this thing for old, wooden, handmade tool crates. I buy one everytime I see them at a price I like ($10 or less). I usually find them in the basements or garages of estate sales – the older the home, the better. This one was fairly thin, but also quite long, which meant it could hold a few devices, but also not take up a huge amount of counter space.
I started by cutting two pieces of 1-inch thick wood to fit in the crate. You could also just cut one piece to fit into the opening, but I went shopping in my garage and found two scrap pieces of oak that would fit perfectly without much waste.
To make the grooves that the phones and iPads can stand in, I lowered the blade of my table saw down to a 1/2″ reveal, set the fence to the place I wanted the first groove, and then made a cut into the board. Then, I move the fence over ever so slightly (no more than the width of the blade), and cut again. With each cut, the groove became larger. I stopped when the first groove was _” thick. Then, I repeated the same process for the second groove.
[wc_row]
[wc_column size=”one-half” position=”first”]
[/wc_column]
[wc_column size=”one-half” position=”last”]
[/wc_column]
[/wc_row]
Note: You could also use a router to notch out this groove as well!
After the grooves were cut, I angled my board and used my table saw to notch in the grooves in the back. The best tool for this would actually be a jigsaw or band saw, but both of mine are not working properly, so I had to improvise. The reason I held it at an angle is so the saw blade didn’t continue cutting the bottom of the board past where the notch needed to be on top. Again, if you have a jigsaw, use it instead!
The next step was to adapt the tool crate itself. First, I used a large drill bit to create holes in the back that eventually connected to form a large hole. The hole will need to be big enough to fit the large plug through, which is why it looks so much bigger than the actual cord. (Again, a jigsaw would have been perfect for this job as well. I should really look into getting my fixed… Instead, it looks like a mouse chewed a hole through my crate!
Inside the crate, I cut scrap pieces of wood that the top pieces could rest on. I made these pieces the same height as the outlet strip, so I only needed to put them on the side where the outlet strip wasn’t sitting.
I made sure to leave gaps that matched up where I made the notches in the top boards so the cords could travel through the gaps and notches.
The wood boards just lay on top, so it’s super easy to change out chargers, if needed.
Doesn’t that look so much better than cords strewn about all over the counter? It brings me to a zen state of organizational bliss just looking at it.
Speaking of organization, you should check out how I made those DIY pantry storage jars from old glass jars. In the post, you’ll find directions on how to make your own clear labels for glass jars AND gain access to a printable of all of the labels I used in my kitchen.
[wc_row]
[wc_column size=”one-half” position=”first”]
[/wc_column]
[wc_column size=”one-half” position=”last”]
[/wc_column]
[/wc_row]
Like it? Pin it! (Thank you.)
Post by Jenny Leads
Jenny is the voice behind Refresh Living. She has a passion for helping people to create a home they love without spending a lot of money.