
How to Make a Gallery Wall (Easy DIY Tutorial)
Once you have the the items you want in your gallery wall design, follow these easy steps to plan and install your gallery wall perfectly, without added holes or constant rearranging.
Gallery walls are a great way to curate the photos, painting and items that make you smile all in one focal area on a wall. But, with so many items to be hung up, there are plenty of opportunities for mess ups (and extra holes) when trying to lay out the items.
I started using this process to plan and install my gallery walls and it’s saved me so much time and frustration when it’s time to hang everything up on the wall. I now use it every time I hang more than one item on a wall at a time, and it works well, every time!
This post was originally published in 2017 and has been updated in 2024 with a step by step tutorial and additional images.
How to Design a Gallery Wall
After collecting all your items, the steps in this section will help you to visualize the arrangement of items without needing to hang them on the wall yet.
Scroll through the photos to see the step by step process on how to arrange a gallery wall. Or, read the steps below the photos.
- First, measure the area of your wall space and mark if off on the floor. Arrange the frames on the floor space in the way you’d like them to hang on the wall. This is a great way to visualize how all the items will look together. Feel free to move things around now to get the perfect layout!
- Take a picture and use this as your guide for laying out the frames on the wall.
- Then, trace each frame and object onto a piece of wrapping paper or kraft paper.
- Mark an “X” on the piece of paper where the hanging bracket(s) are located.
How to Hang a Gallery Wall
The goal when hanging a gallery wall is to only make the number of holes needed for the number of frames you have to hang up. The planning we did in the prior steps will help us from having to rearrange and move things around because they were hung in the wrong spot.
Scroll through the photos or read the steps for an easy way to hang a gallery wall right, the first time!
- Tape the pieces of wrapping paper on to the wall, using the photo you took of the frame layout on the floor as a guide. You can use a level here to make a straight top line, or simply measure off of the height of the ceiling.
- Use firm pressure on a ball paint pen to mark the center of each “X”. The indentation and mark will penetrate through the paper, leaving the point where you can install hangers.
- Remove the paper from one frame and use a small nail, command hook, or other hanging bracket to install it at the dot you marked. You can hang the frame right at this point to keep the visual going as you hang each one.
- Continue remove one paper at a time, installing the bracket, and then hanging the frame or object.
I’ve used this process on a few different gallery walls over the years, and it has worked well, every time!
DIY Gallery Wall Inspiration
To make a gallery wall, you don’t necessarily need to go out and buy matching sets of frames. There are so many different options for how a gallery wall can come together, and they don’t have to cost much at all.
I love reusing old frames or shopping the thrift store for unique frames to use in my gallery walls. If you want a cohesive look, simply paint second hand frames all in the same color and they’ll look like they came together!

These frames were all found at thrift stores and spray painted gold to match together. Laying the frames out in a perfect rectangle I taped on the floor made it possible to get the spacing correct between the different sizes.
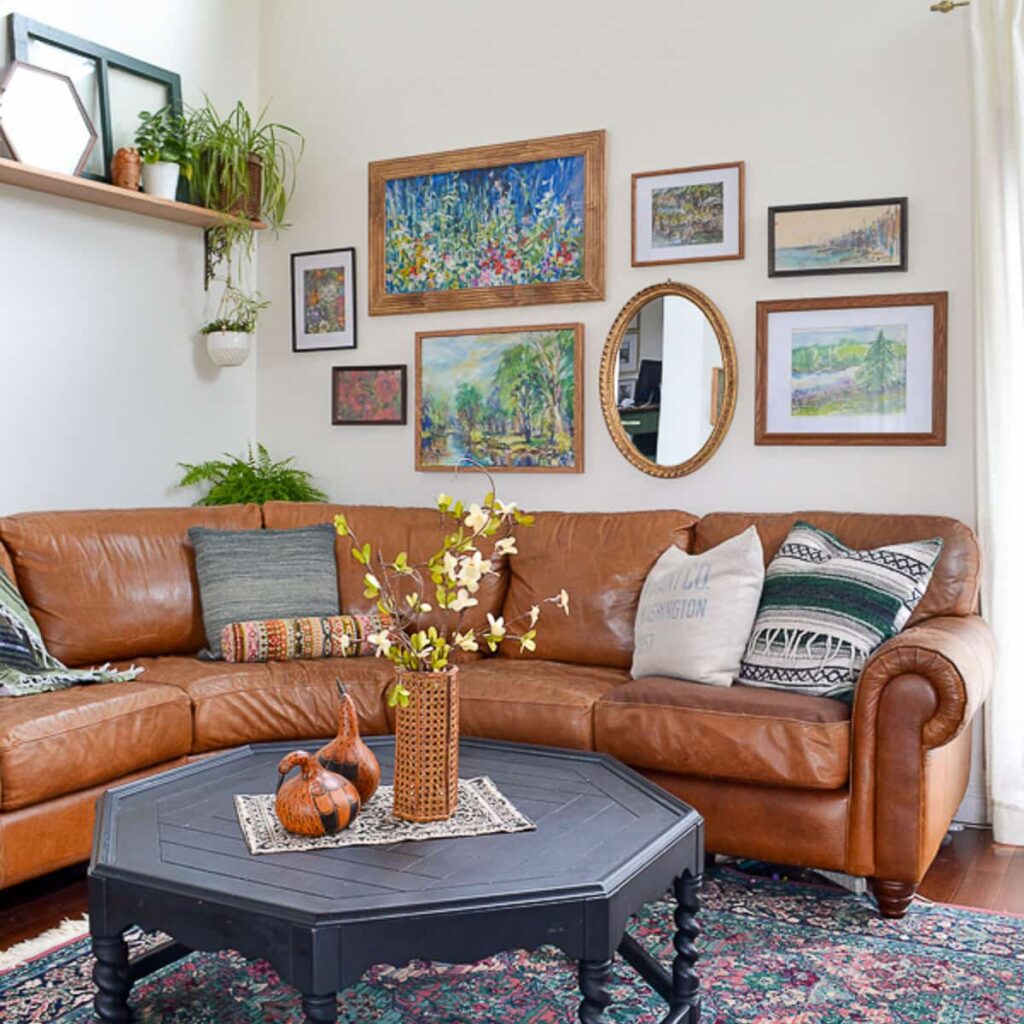
This wall was part of my budget friendly living room makeover filled with second hand vintage finds. All the frames are different, but I love the way they look together.
This gallery wall in my girls’ shared bedroom was made with thrift store frames all painted in white and filled with wrapping paper inserts. It gives the look of wallpaper without the cost!
I printed vintage clip art images on to dictionary pages and made rectangular gallery wall for my daughter’s vintage classroom nursery.
And this was the gallery wall that started it all! It’s no longer in our home (because there’s a staircase now right in front of this wall), but the “small houses” quote is still on the wall to the left leading up the stairs, and the cross is on the wall to the right! Here’s how I made that wood cross from an old cedar fence picket.
I hope this post was helpful to you in making your own gallery wall. No fancy tools or tricks required – just a roll of wrapping paper!
Post by Jenny Leads
Jenny is the voice behind Refresh Living. She has a passion for helping people to create a home they love without spending a lot of money.
Just FYI: Clarabelle is the cow on Mickey Mouse Clubhouse.
Love your gallery wall. I live on a small cattle farm, so I love the picture of the cow!
Thanks! I think you’re right – that’s probably where she got it from.
It looks beautiful! I LOVE that cow print!
It’s beautiful! I love the green with the landscape and Clarabelle. And it’s so much brighter than the black frames.